
OCEANMAIL / RESELLER GUIDE
Use your own brand
Give customers a branded logo, webmail address and DNS names.
1. Open Branding
The owner of an organization with an active reseller agreement can open ClientArea → Branding to save a brand name, logo and domain they control.
- For example, example.com gives you the webmail address webmail.example.com.
- Upload a PNG, JPEG or WebP logo. You can replace it or restore the OceanMail logo later.
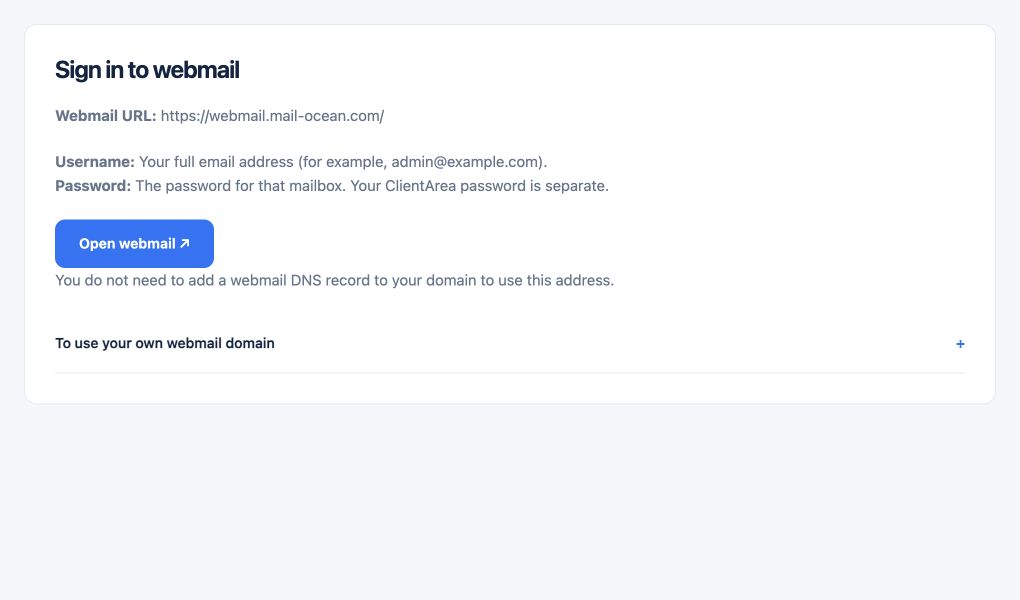
OceanMail webmail and DNS are the defaults while your domain is awaiting activation.
2. Verify your brand domain
Add the ownership TXT record, webmail CNAME, MX host A records and SPF TXT record shown in Branding to your brand domain.
- After DNS propagates, contact ClientArea Support to request activation.
- OceanMail verifies the records, configures the webmail host and HTTPS, and checks webmail sign-in.
When changing your domain, keep the current webmail and MX names working until the migration is complete.
3. Set up customer DNS
After activation, WHMCS customer domains show your branded MX and SPF values. DKIM, DMARC and the ownership TXT record belong to each customer domain.
- Copy the records from the customer domain details into its DNS. Merge SPF with an existing SPF record where applicable.
- Test webmail sign-in, sending and receiving. Use the OceanMail server names in the guide for IMAP and SMTP clients.
Branding shows the DNS values to publish. Make the changes at your DNS provider.