
Import existing email
Copy messages from an old mailbox to OceanMail using IMAP.
Before you import
The destination mailbox must be active on a verified domain and have enough free space. The source must support IMAP with verified TLS on port 993. Prepare the source hostname, full username and IMAP or provider-supported app password, plus the destination mailbox password.
- Confirm the destination mailbox is active on a verified domain and has enough free space.
- Prepare the source IMAP hostname, port 993/TLS, username and password or supported app password.
- Prepare the destination mailbox password; it is separate from the customer portal password.
Start the import
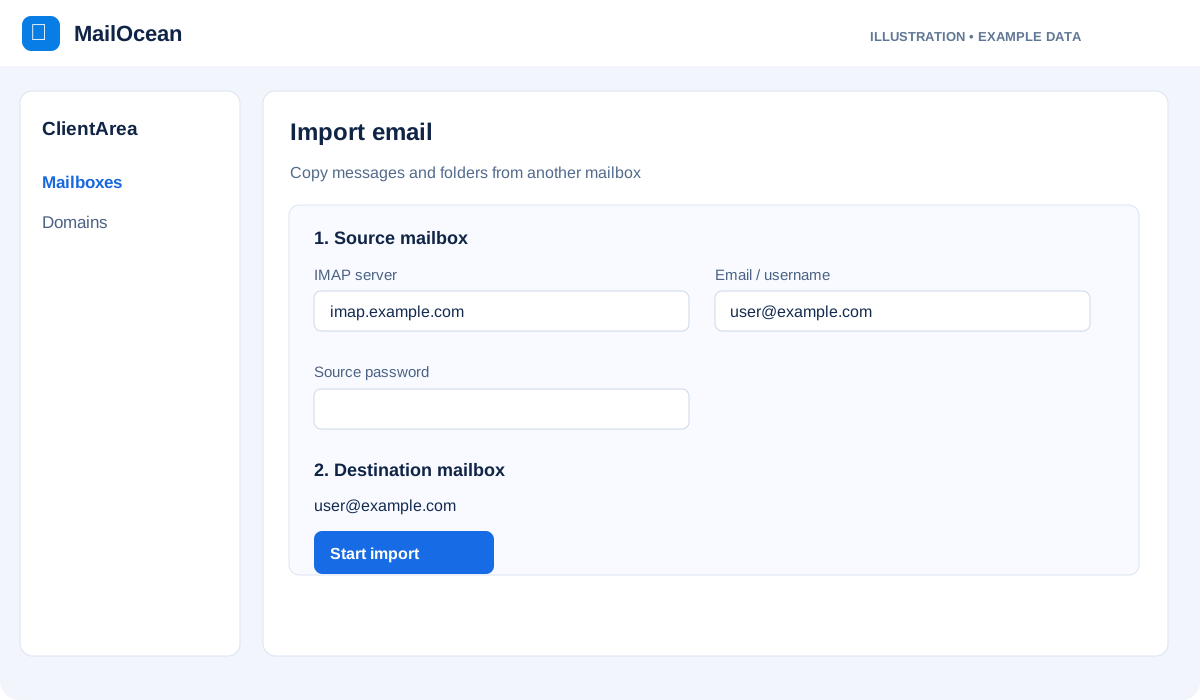
A user with mailbox management permission opens the mailbox details in the customer portal, chooses Import email, enters the connection details and starts the job. Availability depends on the account and mailbox status.
- In the customer portal open Email address and select the destination mailbox.
- Open Import email, enter the source host, source username and both mailbox passwords, then start the import.
- Refresh the job status and review copied and failed counts.
- After completion, check folders, messages and attachments in OceanMail Import in webmail.
- If the result is uncertain, contact support before changing the source hostname or username.
What is copied
Messages, attachments, supported folders and flags are copied. Source messages are not deleted and MX records are not changed. Contacts, calendars, rules and passwords are not imported.
- Messages remain on the source and a copy is created in OceanMail.
- Contacts, calendars, rules and passwords are not imported by this process.
- MX/DNS is not changed; plan and configure any mail routing change separately.
Protect your credentials
Enter passwords only in the verified import form. Never send them in tickets, chat or screenshots.
- Enter passwords only in the import form.
- Do not put passwords or codes in a support ticket, chat or screenshot.